Issue & Pull Request Template Builder
Create and customize standardized templates for your GitHub issues and pull requests.
Loading Template Builder...
How to Use These Templates
1. Click the Copy button for the desired template (e.g., Bug Report).
2. In your GitHub repository, navigate to the .github folder. If it doesn't exist, create it.
3. Inside .github, create an ISSUE_TEMPLATE folder if you're adding an issue template (Bug Report or Feature Request).
4. Create a new file with the exact name shown (e.g., bug_report.md inside .github/ISSUE_TEMPLATE/).
5. For the Pull Request template, create PULL_REQUEST_TEMPLATE.md directly inside the .github folder.
6. Paste the copied Markdown content into the new file and commit the changes.
GitHub will automatically use these templates when new issues or pull requests are created.
Related Tools
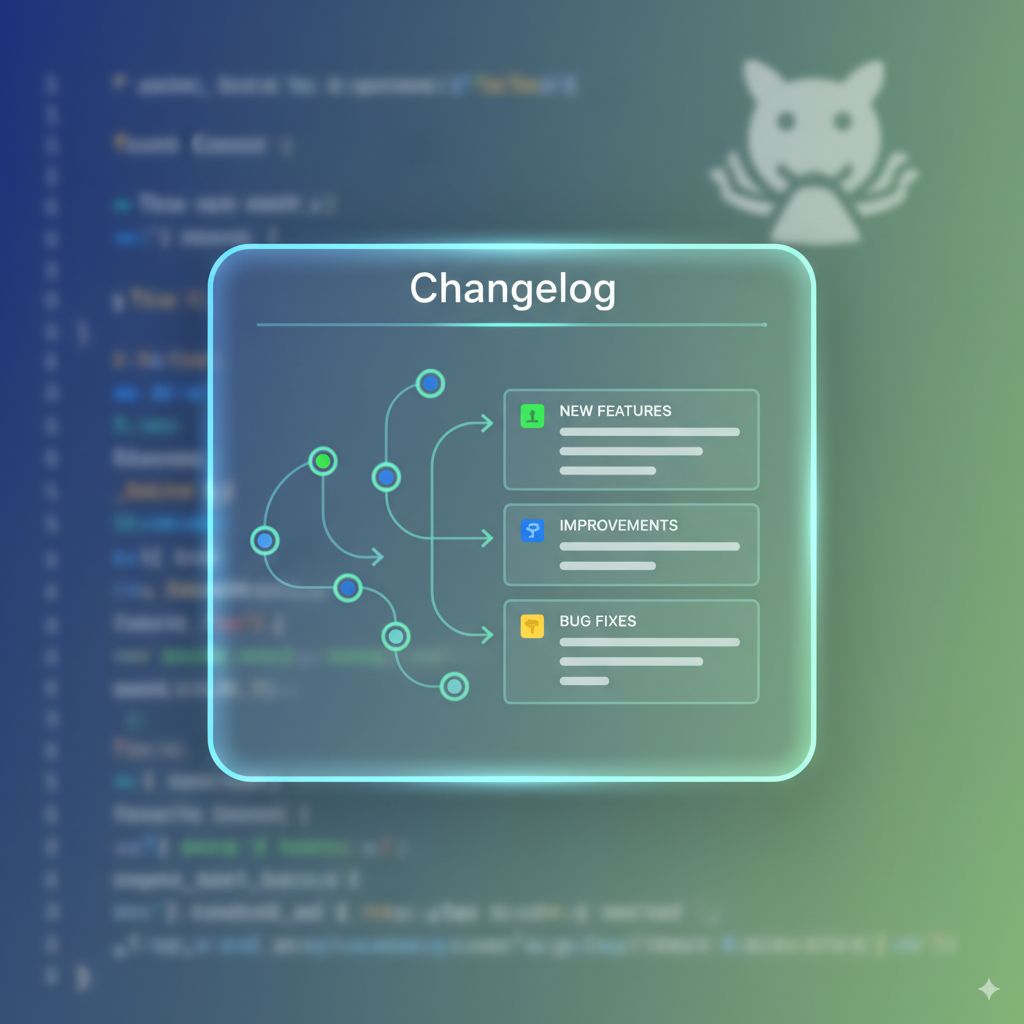
Changelog File Generator
Generate structured CHANGELOG.md files to keep track of your project versions and updates.
License File Generator
Quickly generate standard open-source license files (MIT, Apache, GPL, etc.) for your repositories.
File Tree Generator
Easily generate ASCII file tree structures of your project directories for documentation.
Repository README Builder
Interactive drag-and-drop builder to create comprehensive README files for your repositories.
A Beginner's Guide to GitHub Issues and Pull Requests
If you are learning how to use GitHub or starting your journey in software development, you have probably seen the terms "Issue" and "Pull Request" (often just called a "PR"). For beginners, these words can sound confusing. What exactly is an issue? Is it just a bug? And what are you actually "pulling" in a pull request?
In this complete guide, we are going to break down exactly what GitHub Issues and Pull Requests are. We will use simple words and everyday examples to help you understand them. We will also explain why developers use templates to manage them, and how you can use the template builder above to make your own projects look professional.
Whether you are building a small web app by yourself or trying to contribute to a massive open-source project used by thousands of people, understanding how Issues and PRs work is the first step to becoming a confident developer. Let's get started.
What is a GitHub Issue?

Think of a GitHub Issue as a combination of a to-do list, a suggestion box, and a customer support ticket.
When someone builds a software project and puts the code on GitHub, they need a way to keep track of what needs to be done next. They also need a way for users to report problems, or for other developers to suggest new ideas. This is exactly what the "Issues" tab on GitHub is for.
Despite the name, an "issue" does not always mean something is broken. While we often use the word issue in real life to describe a problem, on GitHub, an issue can be a lot of different things. Here are the most common reasons someone might create an issue:
- Bug Reports: Someone found a mistake in the code. For example, "When I click the submit button on the contact form, the page crashes."
- Feature Requests: Someone has an idea for a new feature. For example, "It would be great if the app had a dark mode."
- Questions: A user doesn't understand how to install the software and is asking for help.
- Tasks and Planning: The creator of the project makes an issue just to remind themselves to do something later, like "Update the logo to the new design."
Whenever an issue is created, it gets a unique number, like #12. Developers use these numbers to talk about the issue easily. Inside the issue, people can leave comments, talk about how to solve the problem, and even attach images or screenshots to explain things better.
Because anyone with a GitHub account can usually create an issue on a public project, popular projects can easily get hundreds or thousands of issues. This is a great way for a community to help improve a piece of software. But as you will see later, managing all these issues can become a headache without the right system in place.
What is a Pull Request (PR)?

Now that we know an issue is basically a discussion about work that needs to be done, what happens when someone actually does the work? That is where the Pull Request comes in.
Imagine you are reading a book written by your friend, and you notice a spelling mistake on page 42. You can't just take a pen and write in their original manuscript. Instead, you make a copy of the page, fix the spelling mistake on your copy, and hand it to your friend. You say, "Hey, I fixed this mistake. If you like it, you can replace your page with my page."
A Pull Request on GitHub works exactly the same way.
When you want to change the code in someone else's project (or even in a team project at work), you don't usually change the main code directly. That would be too risky. Instead, you create a safe copy of the code, which is called a "branch." You make your changes, fix the bug, or add the new feature on your own branch.
Once you are happy with your changes and you have tested that they work, you go back to the original project and open a Pull Request. You are basically telling the owner of the project: "I have made some changes to the code. Please review my changes, and if they look good, pull them into your main project."
The Code Review Process
When you open a Pull Request, GitHub shows a very clear visual comparison of the old code and your new code. It highlights lines you deleted in red, and lines you added in green. This makes it very easy for the project maintainer to see exactly what you changed.
The maintainer will then review your code. They might leave comments asking you to change a few things, or they might ask questions about why you wrote the code a certain way. This back-and-forth conversation happens directly inside the Pull Request. Once the maintainer is happy with your work, they will click a button to "Merge" the pull request. Your code is now officially part of the main project!
How Issues and Pull Requests Work Together
Now you can see how these two features connect. An Issue is the idea or the problem. A Pull Request is the solution.
A normal workflow in open-source software looks like this:
- Step 1: A user finds a bug and opens an Issue to report it.
- Step 2: A developer reads the issue, understands the problem, and decides they want to fix it.
- Step 3: The developer writes the code to fix the bug on their own computer.
- Step 4: The developer submits a Pull Request with their new code. In the description of their PR, they mention that this code fixes the issue created in Step 1.
- Step 5: The project owner reviews the Pull Request and merges it. When the PR is merged, GitHub automatically closes the original Issue, because the problem has been solved.
This organized system is how massive projects like React, Linux, and VS Code are built. Thousands of strangers from all over the world can point out problems using issues, and submit solutions using pull requests, without ever stepping on each other's toes.
The Big Problem: Messy Communication
While Issues and PRs are amazing tools, they rely heavily on good communication. And unfortunately, good communication is hard.
Let's say you built a popular library and put it on GitHub. One morning, you wake up and see a new issue. A user has written: "It doesn't work. The screen just goes blank."
As a developer, you have no idea how to fix this. You have to reply and ask: "What operating system are you using? Which browser? What version of the library do you have installed? Can you show me the code you wrote right before it crashed?"
The user might take three days to reply. When they finally do, they only answer half of your questions. You ask again. More time passes. This frustrating back-and-forth cycle wastes your time and delays the bug fix.
The same thing happens with Pull Requests. A developer might submit 500 lines of new code with a description that just says: "Added some stuff." The maintainer has to spend hours trying to figure out what the code does, why it was added, and if it breaks anything else.
When a project gets popular, dealing with messy issues and poorly explained pull requests can cause project maintainers to burn out and quit. There has to be a better way to force people to provide the right information from the very beginning.
The Solution: GitHub Templates
This is exactly why GitHub created Issue and Pull Request Templates. A template is simply a pre-written form that automatically loads in the text box whenever someone tries to create a new issue or pull request.
Instead of a blank text box where users can write whatever they want, a template provides a clear structure. It asks specific questions and provides a checklist of things the user must complete before submitting.
How an Issue Template Helps
If you have a Bug Report template set up, when the user clicks "New Issue", the text box will already contain something like this:
**Describe the bug**
(Write your description here)

**Steps to Reproduce**
1. Go to...
2. Click on...

**Environment:**
- OS:
- Browser:
- Version:
Now, the user knows exactly what information you need. They just fill in the blanks. When you wake up to read the issue, you immediately know their operating system, browser, and how to recreate the bug yourself. You can start fixing the code right away instead of playing a game of twenty questions.
You can even have different templates for different things. You can have one template for Bug Reports, and a completely different template for Feature Requests that asks questions like "What problem does this feature solve?" and "Are there any alternative solutions?"
How a Pull Request Template Helps
Just like issue templates, a Pull Request template loads automatically when someone tries to submit code to your project. A good PR template will ask the developer to summarize their changes and link to the issue they are fixing.
Most importantly, PR templates usually include a checklist. The checklist asks the developer to confirm things before the maintainer even looks at the code. For example:
- [ ] I have read the contributing guidelines.
- [ ] My code passes all the local tests.
- [ ] I have added comments to my code so others can understand it.
- [ ] I have updated the documentation.
If a developer submits a PR and leaves those boxes unchecked, the project maintainer can simply say, "Please finish the checklist before I review your code." This saves a massive amount of time and ensures high-quality code.
How to Set Up Templates Using Our Tool
Setting up these templates manually requires knowing exactly what to write and knowing exactly where to save the files in your repository. GitHub requires these files to have specific names and be placed in a hidden folder called .github.
Our Issue and PR Template Builder at the top of this page makes this entire process incredibly easy. Here is how you can use it to professionalize your repository in just a few minutes:
- Select your template: Use the tabs at the top to choose between a Bug Report, a Feature Request, or a Pull Request template.
- Review and edit: The code editor will show you a standard, professional template that is used by thousands of top developers. You can use it exactly as it is, or you can edit the text to add your own custom questions.
- Copy or Download: Once you are happy with the text, click the Copy button. The tool will also tell you the exact filename you need to use.
- Add to GitHub: Open your project on GitHub. Create a folder named
.github. Inside that, create a folder namedISSUE_TEMPLATE. Then, create a new file, paste the code, and save it.
That is it! The next time anyone tries to open an issue or submit a pull request to your project, GitHub will automatically present them with your new, professional forms.
Best Practices for Writing a Good Bug Report
If you are the person filling out a bug report on someone else's project, how can you make sure you are doing a good job? Project maintainers love users who write great bug reports. Here are a few simple tips to keep in mind.
1. Search first. Before you create a brand new issue, use the search bar to see if someone else has already reported the same bug. If they have, you can just add a comment to their issue saying "I am having this problem too," rather than creating a duplicate.
2. Be clear and specific. Don't just say "it is broken." Explain exactly what you were trying to do, what you expected to happen, and what actually happened instead.
3. Provide steps to reproduce. This is the most important part. A developer cannot fix a bug if they cannot see the bug happening on their own computer. Write down a numbered list of the exact clicks, typing, or commands you used right before the bug happened.
4. Include screenshots or videos. A picture is worth a thousand words. If a button is in the wrong place, or an error message pops up on the screen, take a screenshot and attach it to the issue. It makes the developer's job so much easier.
Best Practices for Submitting a Good Pull Request
If you are submitting code to a project, your goal is to make the reviewer's job as easy as possible. The easier your code is to understand, the faster it will get approved and merged.
1. Keep it small. Do not try to fix five different bugs and add three new features in a single pull request. Huge pull requests with thousands of lines of changed code are terrifying to review. Keep your PRs small and focused on doing just one thing.
2. Write a great title. The title of your pull request should explain exactly what the code does. Instead of "Update styles", use a title like "Fix navigation bar text color on mobile devices".
3. Explain the "Why". The code shows the reviewer what you changed, but it doesn't always explain why you changed it. Use the PR description box to explain your thought process. Tell them why you chose to solve the problem this specific way.
4. Test your code. Never submit code that you haven't tested yourself. Make sure your project still runs, no errors show up in the console, and any automated tests pass successfully before you ask someone else to review it.
Final Thoughts
GitHub Issues and Pull Requests are the foundation of modern software development. They turn chaotic coding into an organized, team-based effort. By understanding how to use them properly, you can participate in open-source projects, collaborate with coworkers, and manage your own personal projects much more effectively.
Furthermore, by taking five minutes to set up Issue and PR templates on your repositories, you show everyone that you are a serious, professional developer. It saves you from answering repetitive questions and helps your contributors provide the high-quality information you need to keep your project running smoothly.
Use the free builder tool at the top of this page to generate your templates today, drop them into your project folder, and enjoy a cleaner, more organized GitHub experience.
Frequently Asked Questions
Common questions about GitHub Issue and Pull Request templates