License File Generator
Quickly generate a LICENSE file for your open source project.
You can also explore and select a license from the list below as per your project's specific requirements.
Related Tools
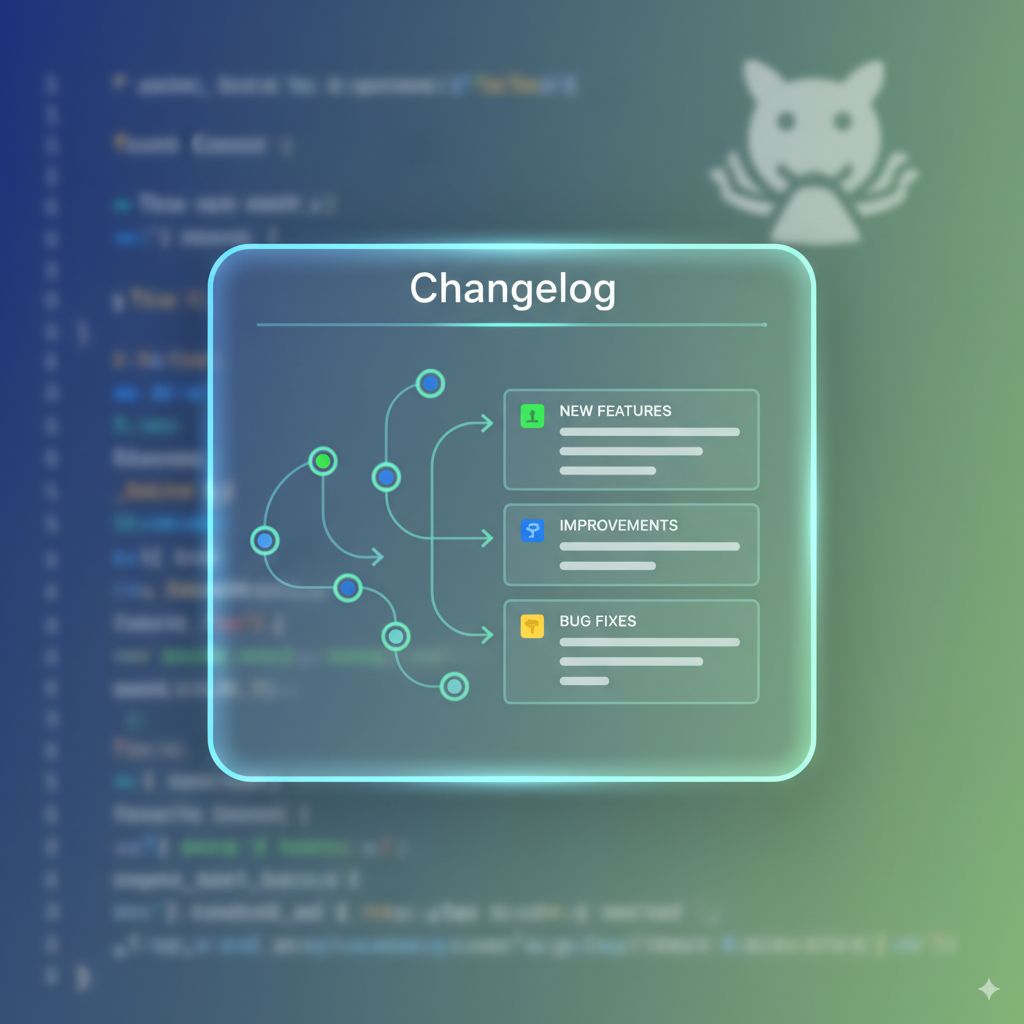
Changelog File Generator
Generate structured CHANGELOG.md files to keep track of your project versions and updates.
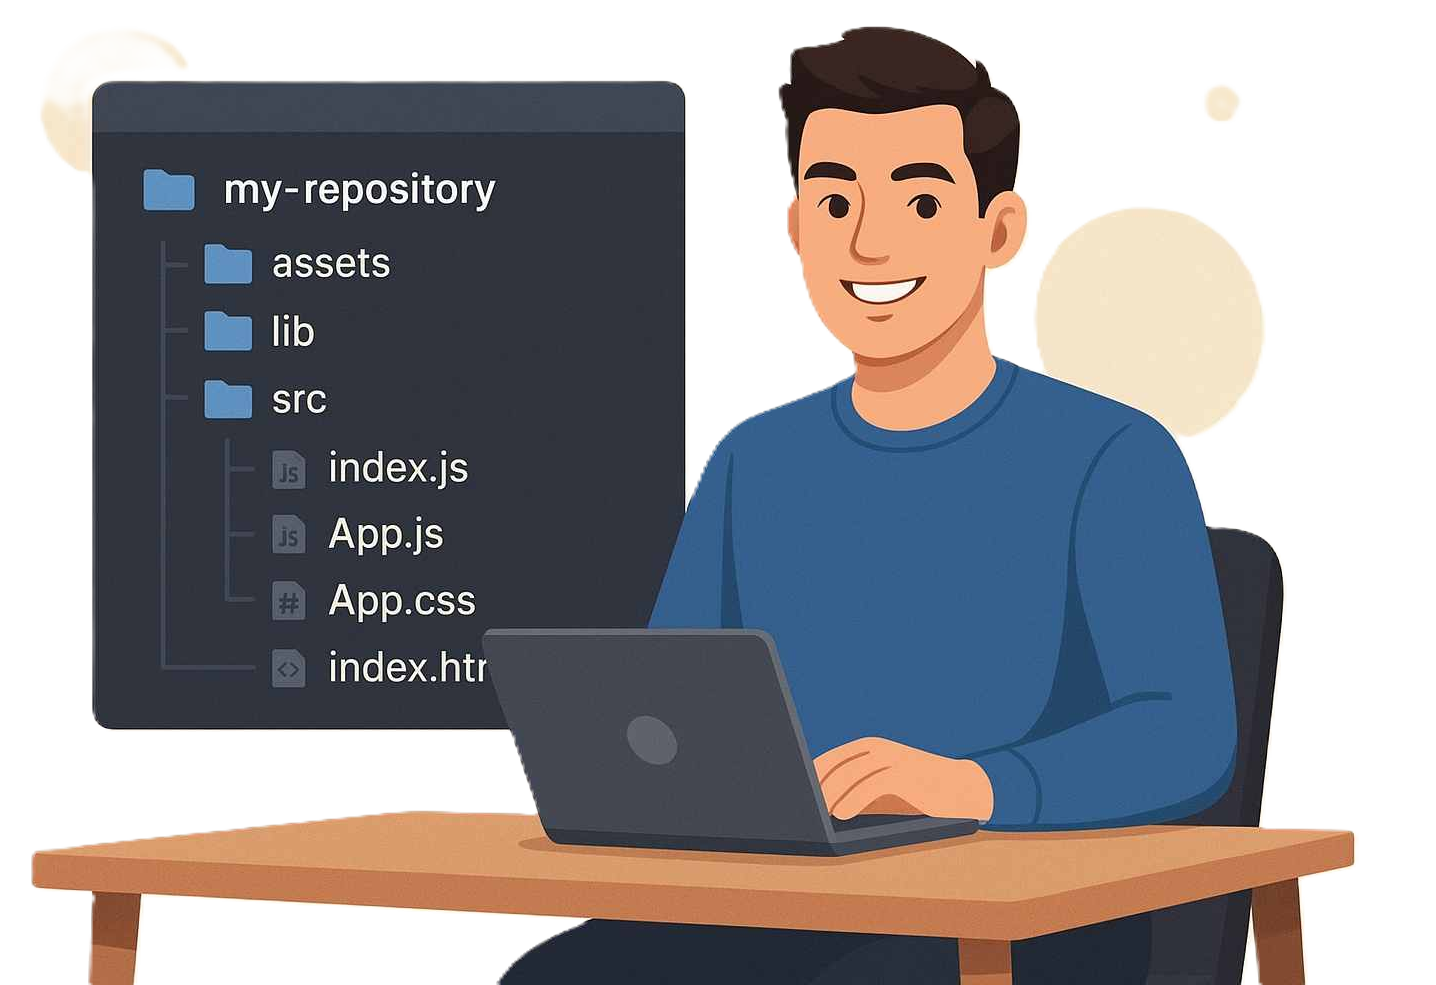
File Tree Generator
Easily generate ASCII file tree structures of your project directories for documentation.
Repository README Builder
Interactive drag-and-drop builder to create comprehensive README files for your repositories.
Mermaid Diagram Generator
Create, customize, and export Mermaid diagrams with our free online live editor.
What Is a Software License and Why Does Your Project Need One?
When you push code to GitHub without a license file, nobody can legally use it. That sounds extreme, but it is exactly how copyright law works. By default, the author holds all rights. No license means no permission — anyone who forks your repository, uses it in their project, or builds on top of it is technically violating copyright law, even if that was never your intention and even if the repository is completely public.
A LICENSE file fixes that problem. It is a plain text file you add to the root of your repository that tells every visitor exactly what they can and cannot do with your code. It takes about 30 seconds to add, and it removes all legal ambiguity around your project so contributors and users can work with confidence.
Without a license, open source projects lose contributors. Developers and companies that want to use or contribute to your project will skip it entirely because their legal team will not allow them to touch unlicensed code. Adding a license is one of the most important steps in making a project genuinely open source.
How to Generate a License File Using This Tool
This license generator creates a ready-to-use LICENSE file in seconds. Follow these steps to generate the correct license for your project:
- Paste your GitHub repository URL (optional)
By pasting a GitHub repository URL and clicking "Fetch Repo", the tool intelligently fetches your GitHub username and instantly autofills the Copyright Holder field for you. It also checks if the repository already has a license and enables the one-click "Add to Repo" button.
- Select your Project Type
Browse or search the Project Type list and select what kind of software you are building (e.g., CLI Tool, Web App, AI Model, SaaS). The generator uses this to automatically recommend the industry-standard license for your specific use case, complete with a plain-English explanation of why that license is recommended.
- Select your License
Click "Use Recommended" in the blue box to accept the suggestion. Alternatively, if you already know what you want, you can bypass the recommendation and manually select any license from the complete list below. Clicking any license instantly generates its text in the live preview panel on the right.
- Confirm your License Details
Review the Copyright Holder (your name or your organization's name) and the Copyright Year at the bottom of the form. This is the actual data that gets injected directly into the license text template. As you type, you can see your name updating in real-time in the Live Preview.
- Copy, Download, or Commit
Once your details are correct, you have three options. You can click Copy to copy the raw text, click Download to save it locally as a
LICENSE.mdfile, or—if you provided a GitHub URL—clickAdd to Repo to securely commit the file directly to your repository via the GitHub API. - Add a license badge to your README
Toggle "Generate Markdown Badge" in the form to get a shields.io badge for your license. Copy the badge markdown and paste it at the top of your README file. This makes the license immediately visible to anyone who visits your repository without needing to open the LICENSE file. If you need help building a full README for your project, you can use the GitHub README generator to build a complete, professional README with all the standard sections.

MIT License — The Most Common Choice for Open Source Projects
If you are building a library, a CLI tool, or any project you want people to use freely, MIT is the right license for most cases. It is short (about 200 words), easy to read, and extremely permissive. Anyone can use your code in commercial products, modify it, distribute it, and even sell products built with it — as long as they include your original copyright notice.
That copyright notice requirement is the only real condition. The user must keep your name in the license file. That is the entire obligation. Because of this simplicity, MIT is the default choice for most npm packages, Python libraries, and open source tools you will find on GitHub. Projects like React, Vue, Ruby on Rails, and millions of other developer tools use MIT.
If you want maximum adoption and minimum friction for contributors and users, start with MIT. You can always move to a more restrictive license in a future major version if your project grows and the requirements change.
Apache 2.0 — Better Legal Protection for Larger Projects
Apache 2.0 is similar to MIT in that it allows people to use, modify, and distribute your code in commercial products. The key difference is an explicit patent grant. Apache 2.0 includes a clause that prevents contributors from later suing users of the project for patent infringement based on contributions they made to the project. This protection matters significantly when the project is owned by a company or organization that holds patents.
Apache 2.0 also requires that any changes to your code are documented when distributed. If someone modifies your project and shares it, they must note what they changed. This makes attribution clearer in larger codebases. Kubernetes, Android, and most Apache Foundation projects use this license. If you are building a project at an organization level or a project with significant commercial interest, Apache 2.0 is the safer choice over MIT.
GPL v3 — When You Want Derivatives to Stay Open Source
GPL (General Public License) is a copyleft license. If someone takes your GPL-licensed code, modifies it, and distributes their version, they must release their version under GPL as well. The open source requirement spreads to any derivative work that is distributed publicly. It is not possible to take GPL code, build a proprietary product on top of it, and sell it without releasing the source code.
This is intentional. GPL was created by the Free Software Foundation specifically to keep software free and to prevent companies from taking open source work and making it proprietary. Linux is GPL. WordPress is GPL. If you believe that software built on open source should stay open source, GPL enforces that belief legally.
The main trade-off is adoption. Many companies will not use GPL code in commercial products because of the copyleft requirement — their legal teams flag it as a risk. If you want wide commercial adoption, MIT or Apache is friendlier. If you want to prevent proprietary forks, GPL is the correct choice.
Other Common Licenses: BSD, LGPL, MPL, and Unlicense
BSD 2-Clause and 3-Clause
BSD licenses are permissive like MIT. The 3-Clause version adds a non-endorsement clause: users cannot use your name or organization name to promote their products without permission. BSD is common in academic and research software. For most personal projects, MIT achieves the same outcome with simpler language.
LGPL — The Middle Ground for Libraries
LGPL (Lesser GPL) was designed for libraries. If someone uses your LGPL library in their application without modifying the library itself, they do not have to open source their application. If they modify the library and distribute those changes, those changes must stay under LGPL. GTK and Qt use LGPL. It solves the problem of GPL being too restrictive for commercial library adoption.
Mozilla Public License 2.0
MPL 2.0 applies copyleft at the file level rather than the project level. If you modify an MPL-licensed file and distribute it, you must release your changes to that specific file. You can combine MPL files with proprietary code without having to open source the entire project. Firefox uses MPL 2.0.
Unlicense and CC0
These licenses effectively place your code in the public domain by waiving all copyright. Anyone can do anything with your code — use it, sell it, modify it — with no attribution required. This is useful for small utilities or examples where you genuinely do not care what happens to the code. For most projects, MIT is a better choice because it still requires attribution with almost no burden on users, and it gives you a small but real layer of legal protection.
Which License Should You Use? A Simple Decision Guide
Most developers spend more time choosing a license than they need to. Here is a straightforward guide based on your project goals:
- Personal project or library you want people to use freely
Use MIT. It is the simplest, most widely understood permissive license and will not scare away contributors or companies. - Company or organization project
Use Apache 2.0. The patent protection clause covers both you and your users and is the standard expectation for organizational open source projects. - You want derivatives to stay open source
Use GPL v3. It legally enforces that anyone building on your code must release their changes under the same terms. - Library that companies need to use in commercial products
Use LGPL or MIT. Full GPL is too restrictive for commercial adoption of a library dependency. - Code snippets or examples with zero restrictions
Use Unlicense or CC0. No attribution required, no conditions at all.
Once you have chosen your license and added it to your repository, the next step is making sure your README properly documents the project. A well-structured README with the correct license badge, installation instructions, and usage examples is what makes contributors actually engage with your project. The GitHub README generator can help you build a professional-looking README that links back to your licensed projects correctly.
How to Add a License File to an Existing GitHub Repository
There are two straightforward ways to add a license to a repository that already exists:
Through the GitHub interface
Go to your repository on GitHub. Click "Add file" and then "Create new file". Name the file LICENSE with no extension. GitHub will show a "Choose a license template" button on the right side of the editor. Click it, select your license, fill in your name and year, and commit the file to your main branch. GitHub will automatically detect the license and display it in the repository sidebar.
Using this generator and uploading the file
Use the license generator at the top of this page to fill in your details and download the file. Then either drag it into your repository via GitHub file upload, or commit it locally using:
git add LICENSE
git commit -m "Add MIT license"
git push origin main
After pushing, GitHub will pick up the license automatically within a few minutes and show it in the repository information panel on the right side of the page.
After your LICENSE file is in place, it is also good practice to document your recent changes properly. If you are tagging a new release alongside adding a license, you can use the changelog generator to automatically pull your commit history from GitHub and format it as a proper CHANGELOG.md file — which is the standard way to communicate version changes to your users.
Common Mistakes Developers Make with Licenses
- Forgetting to update the copyright year. The copyright year should reflect when you first published the project, or a range if the project has been running for several years (for example, 2021–2025). An outdated year is not a legal problem, but it signals to visitors that the project is unmaintained.
- Using the wrong name as copyright holder. The copyright holder must be the person or organization that legally owns the code. If you wrote the code during employment, the company may own it under your employment contract. Check before putting your personal name on company code.
- Adding a license that conflicts with your dependencies. If your project uses a GPL-licensed dependency, you generally cannot release your project under MIT. The dependency license may require your project to also use GPL. Always check the licenses of your dependencies before choosing your own.
- Publishing code with no license at all. This is the most common mistake. An unlicensed public repository does not mean the code is free to use — it means all rights are reserved by the author. If you want people to use, contribute to, or build on your code, you must add a license.